Programming is indeed a time- and effort-hungry job. If, however, web hosting account owners stepped into a developer’s shoes, things might get a bit easier to handle.
We’ve tried our best to make completing basic site management tasks like setting up cron jobs, filtering outgoing connections, creating Memcached/Varnish instances, choosing a PHP version, etc. a breeze through the Advanced section of the Web Hosting Control Panel.
The newly added Supervisor functionality goes even a step further, allowing website owners to run scripts in the background.
What is the Supervisor all about?
The main mission of the new Supervisor functionality is to allow website owners to execute long-running scripts or programs in the background of their web hosting environment.
So far, background-running scripts have been prohibited on our system and are still not tolerated on most web hosting platforms.
The main concern over background-running scripts is that they could be used by hackers to compromise website owners.
For instance, if a hacker breaks into a web hosting account through a weakly protected site, they could easily run a bot script, which is part of a botnet aimed at spreading large-scale DDoS attacks.
This way, the account owner involuntarily becomes part of a massive hacking campaign through their own resources.
While background scripts pose a potential threat to the security of web hosting accounts, there are still many cases where they could be used for legal practices by site owners and developers.
Recently, we’ve received a number of requests by users who want to be able to run background processes for their live content projects and so we’ve decided to delegate that right to them from a controlled environment – the Web Hosting Control Panel.
This is how the Supervisor section of the Control Panel was born.
From there, users will be able to run background scripts and programs on their own in a way that the security of their web hosting account could be guaranteed.
Here is one of the most generic uses of background processes:
Running a WebSocket server in PHP
The Supervisor functionality is mostly used to establish real-time, two-way connections between web clients and servers over the TCP-based WebSocket Protocol.
WebSocket is a new HTML5 feature, which allows JavaScript clients to open bidirectional socket connections to a server without interruptions.
This enhances the interaction between browsers and sites and facilitates the syndication of live web content.
Here is an example of a WebSocket URL, which includes the name of the host and the port to which the connection is made:
ws://host:port/path (ex. ws://localhost:8000/echo)
Once you’ve downloaded the WebSocket server (not to be confused with Apache), you’ll need to start it and make sure it’s running in the background.
A WebSocket connection can be established by sending a regular HTTP request using an Upgrade header that informs the server of the client’s desire to set up such a connection.
Here is a visual overview of how the WebSocket background process works as compared to a normal request-response client-server communication process:
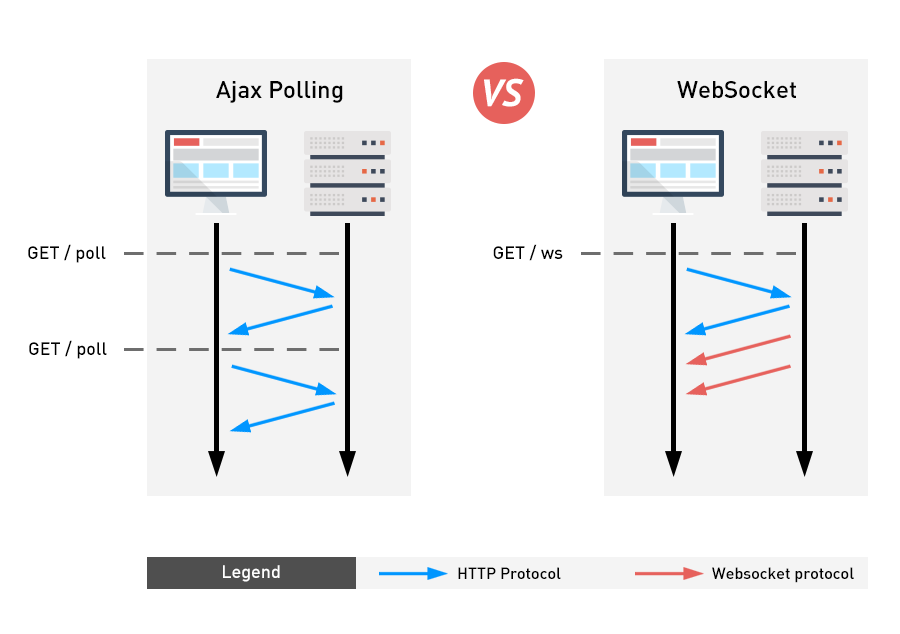
As you can see in the figure above, the WebSocket protocol allows for a bidirectional communication between a client and a server. It also permits you to get real-time server updates and to save traffic resources for regular server polling.
How do I use the Supervisor?
To make use of the Supervisor and initiate a background process in your web hosting account, you will need to create an instance.
In the Supervisor section, click on the “Create an instance” button:

When a Supervisor instance is created, a TCP port will be assigned automatically to the background application.
How to run a chat server over WebSocket – a case study
Now let’s go through the basic steps to initiating a long-running background process in your web hosting account.
In this example, we’ll set up a chat server over the WebSocket protocol, mentioned earlier in the post.
To run a chat server, you’ll first need to have it downloaded from the web.
In our case, we’ll use a chat server exemplified on the popular PHP tutorials site sanwebe.com.
First, we’ll set up a host where the chat server will be uploaded from the Hosted Domains section of your Control Panel.

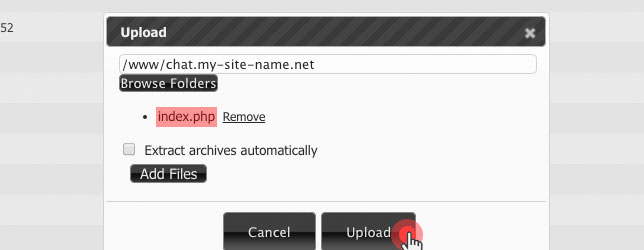
Then we’ll upload the index.php file from the chat server folder to the host’s main folder using the File Manager:
In the main /home/www/ directory, create a folder for the chat server file.
In our example, the folder will be named /home/www/server/:

NOTE: The chat server file should have executable permissions such as 700 or 755.
Now let’s go to the new Supervisor section and create an instance for the background-running chat server.
In the command field, browse to the server path and then click on the Add button:
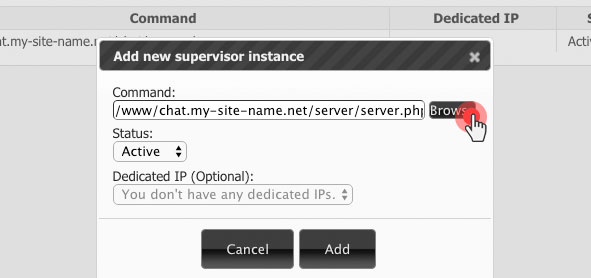
When the instance is created, you’ll see the TCP port that has been generated for you on the left:

Next, you should copy the port and then paste it into the server.php file using the text editor in the File Manager section:

Then open the index.php file and replace the default hostname with your hostname. You should also enter the new port:

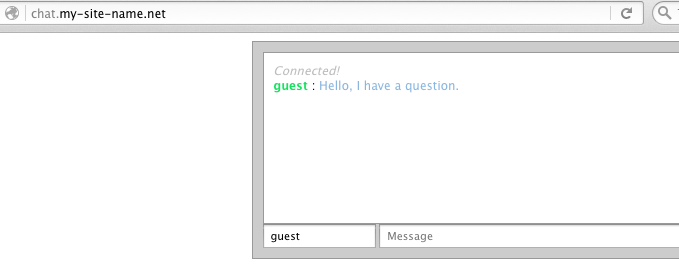
That’s it! Now you can start your chat server:
NOTE:To protect the server.php file from public access, you can set access rules using the .htaccess file.
Where is the Supervisor located?
The Supervisor functionality is located in the Advanced section of the Web Hosting Control Panel.
You can access it by clicking the shortcut icon on the index page:
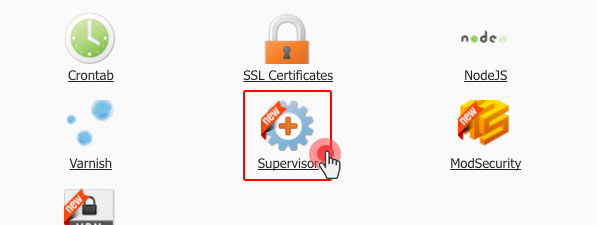
Alternatively, you can navigate to the Supervisor feature using the Advanced drop-down menu:

